Creating roles
The roles that you will assign to members on your projects come from a repository that is administered by the Beesbusy subscription manager.
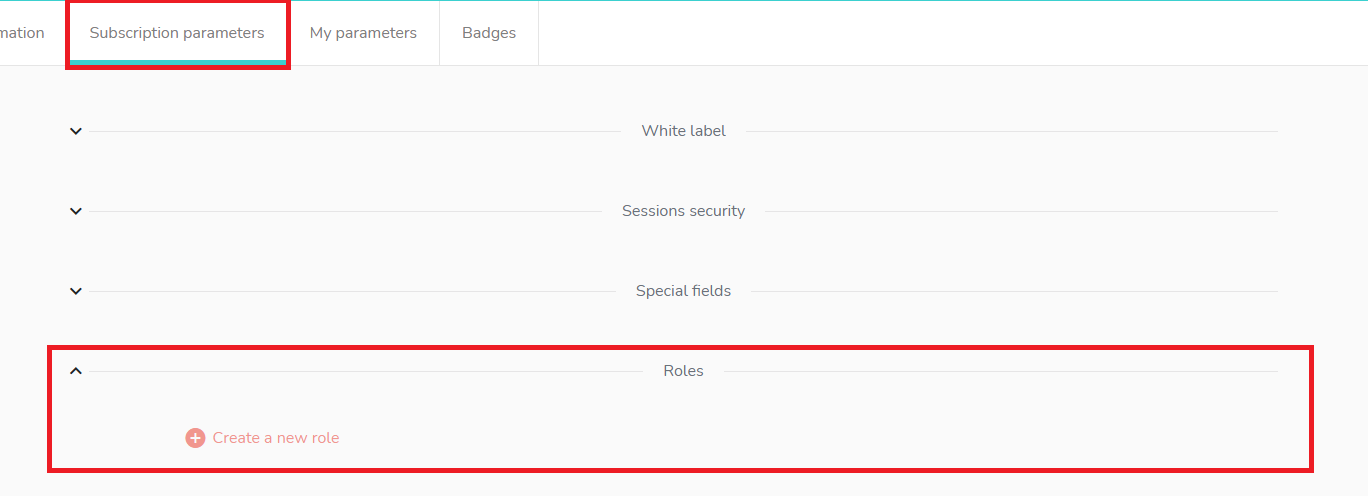
The first step is therefore to create the roles that will be used, and it is up to the subscription manager to do this in the “Subscription parameters” tab of their profile.

Click on “Create a new role”, name the role and choose a color for it:

Choosing roles to use on a project
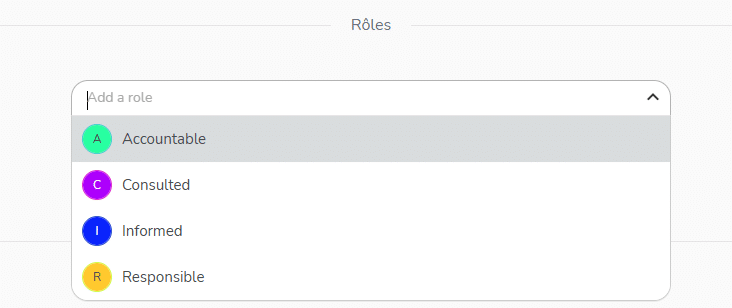
Once this repository is created, go to the settings of a project, “Roles” section, in order to add the roles to be used within this project.

Only members with project administrator rights can add these roles.
The drop-down menu allows you to choose the items created by the subscription manager:

Adding roles on members
Assigning one or more roles to a member on a task
Once this is done, go to tasks to assign roles to members.
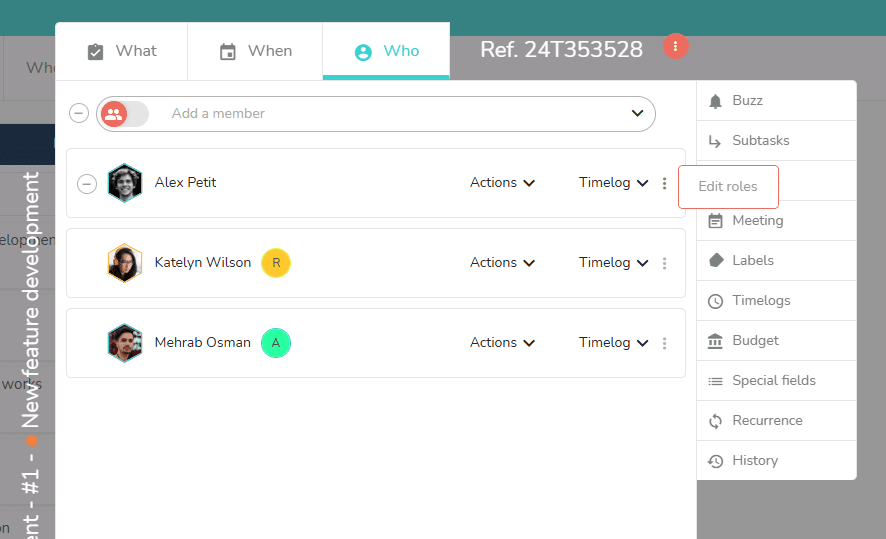
In the Who tab, click on the 3 small dots to the right of the member’s name, then click on “Edit roles”:

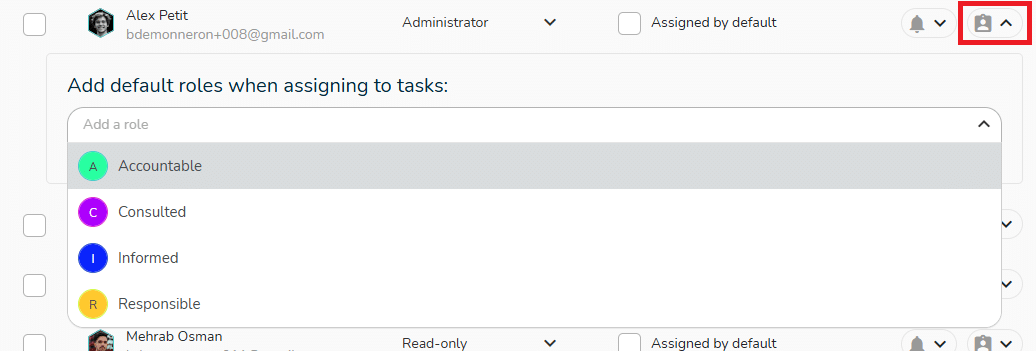
Assigning one or more roles by default to a member on all project tasks

This role will then always be assigned to this member as soon as they are assigned to a task. However, on a particular task, you will always have the possibility to modify the role by default on the member by opening the task in question and modifying the member’s role in the Who tab of the task.