Create subtasks
If you want to create subtasks, please open a task.
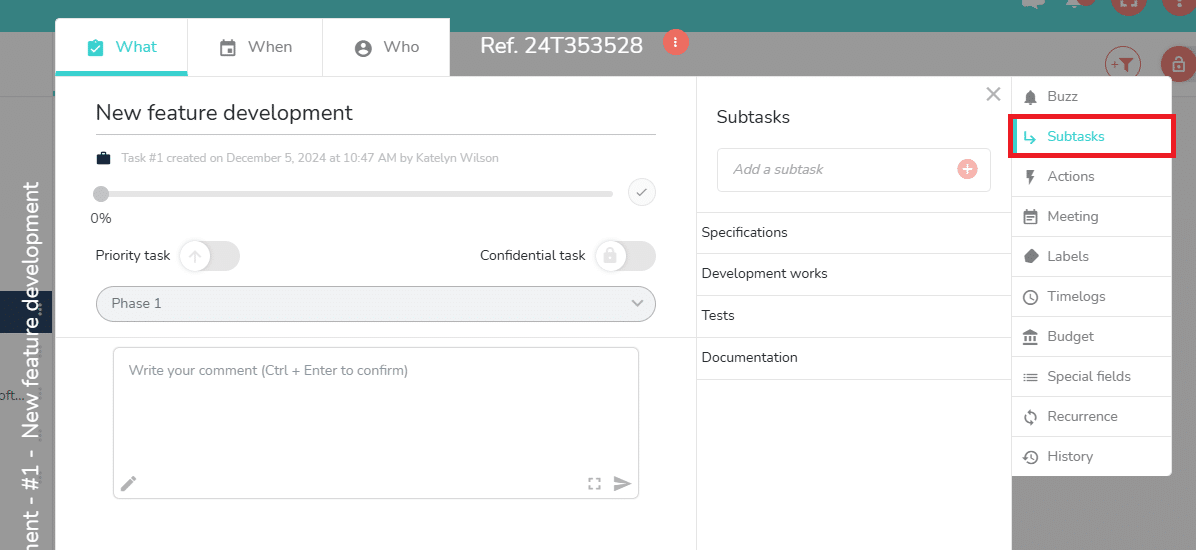
The “Subtasks” button to the right of the open task allows you to add subtasks in this new subtask panel:

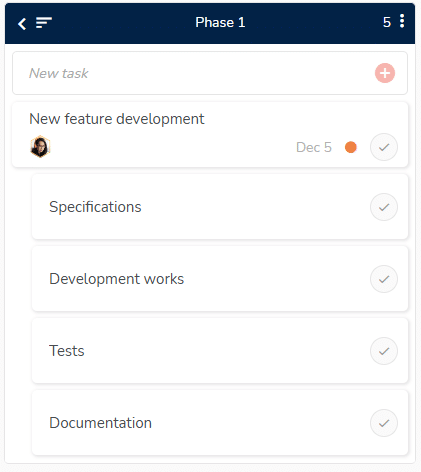
On the What view of the project, the subtasks are placed below the parent task, and are slightly shifted to the right:

Schedule subtasks
You can schedule subtasks. In the When view of the project, the subtask names in the left column are also shifted to the right:

As with tasks, you can assign members to subtasks, enter comments, add labels, etc.
Constraint regarding the time and budget features
However, regarding the time and budget features, the following constraint is to be known: the values entered on the subtasks are accumulated at the task level.
Consequently, if you generate subtasks from a parent task that already had time and/or budget values, when generating a subtask you are offered, via a blue banner at the bottom of the screen, either to transmit these values to the first subtask generated, or to delete these values.
Another consequence: you can no longer enter time and/or budget on the task that has become a parent task by generating subtasks.
Navigate between the parent task and its subtasks
Finally, it is easy to navigate in a parent task/subtask set.
When you are in the parent task, simply click on the name of the subtask in the subtask pane to access the subtask in question.
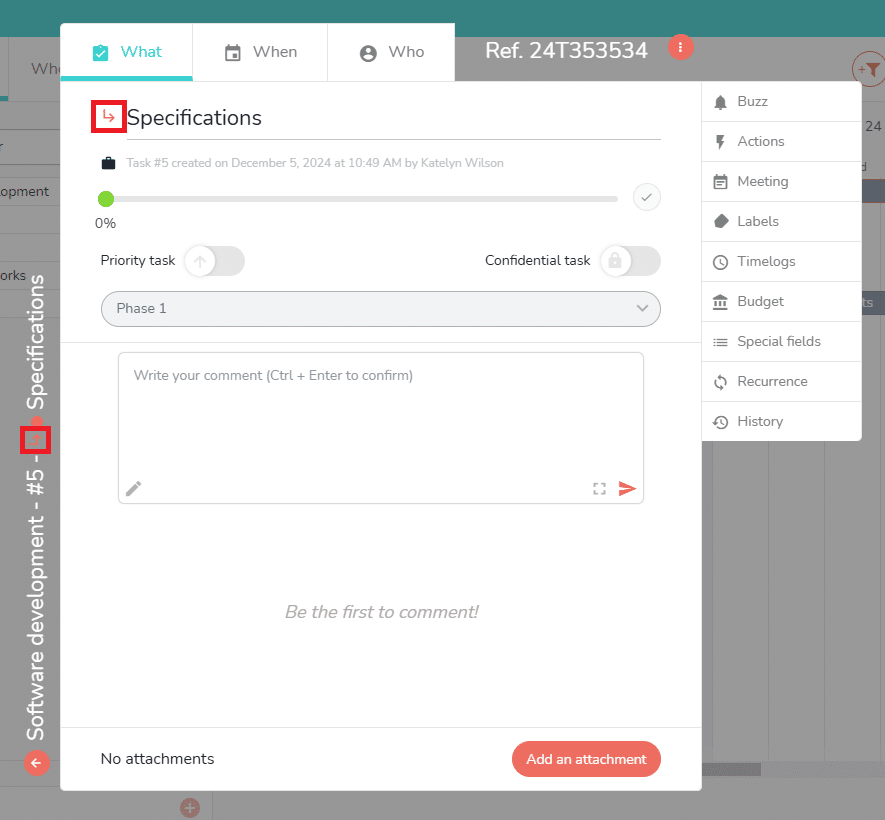
When you are in a subtask, simply click on the orange arrow to go back to the parent task. The orange arrow is present to the left of the task title in the What tab and on the left edge of the task:
